Hi Everyone,
The month of May, as always has heated up the temperature to sky high but thanks to Craftreat's new released pattern paper "Live Today" with some beautiful patterns, I for sure was soothed off a lot.

I started my crafting days as a hard core card maker and scrapbooker and these papers really got me nostalgic. Plus the versatility of the patterns is incredible and is best suited to whip out some great layouts for both scrapbooking/memory keeping and card making.
As this pack had a lot of sentiments and quotes for family, I decided to whip out some quick gifts (Project1- Mini Scrapbook page and Project 2- Card) for my mom on the occasion of Mothers Day.
Lets have a look!!

I must confess, I have a weakness for checks and this is my favourite page of the entire pack.
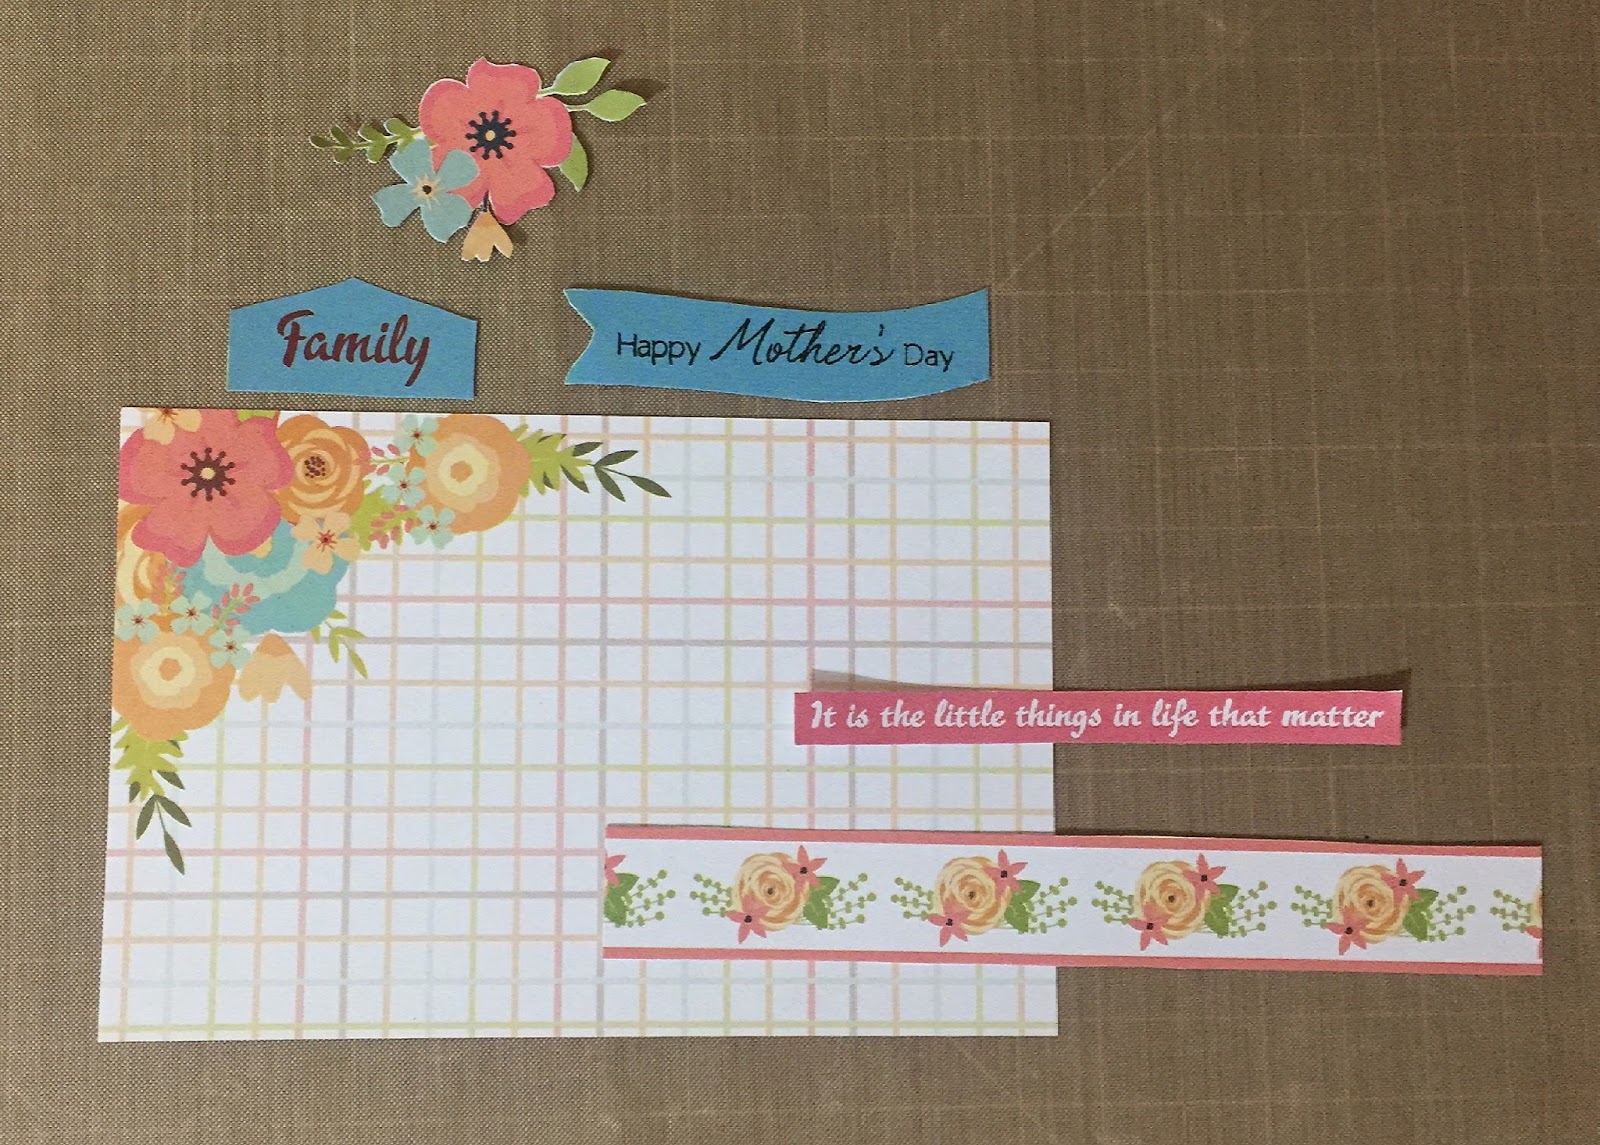
So I have cut the above paper into a rectangle piece of 6inches x 4inches with the corner pattern of the flowers on top for Project 1 and another piece of 6inches x 4 inches for Project 2 (without any flowers and only checks).
 I cut a strip from this beautiful page for both Projects and the rainbow and kite for Project 2.
 I also cut the sentiment from the same page for Project 1.
 Sentiment and Banner cut from this page for Project 1.
 Flowers cut from this page for both Projects.
 Houses cut from this page for Project 2.
 I stamped the sentiment on the banner I had cut from the pattern paper.
Now that I had all my fussy cut images and sentiments ready for both the Projects, I started assembling them as below.
PROJECT 1:

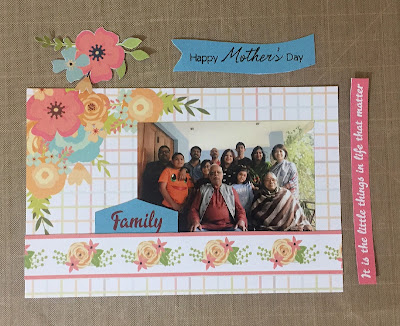

With the help of a double tape, I have then attached the sentiment of "It is the little things in life that matter" over the cut strip and also the flower next to "family" has been popped up. The stamped banner of "Happy Mother's Day" has also been fixed with the help of a double tape.
I have used a double tape to pop up the above images and sentiments to give more depth to my layout.
After the final layout was ready, I decided to frame it.
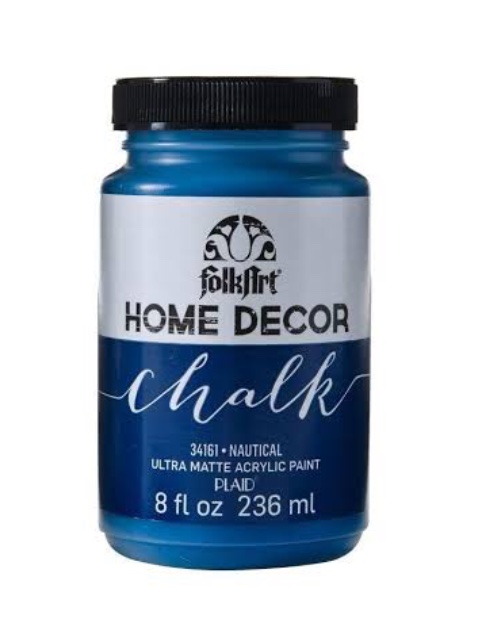
 I have picked a colour from the layout to balance it through the framing (also I felt I should use some cooler shades to enhance the layout and the 'hot summers' ). The frame has been painted with Home Decor chalks paints and Home Decor Crackle medium.
PROJECT 2:
With the balance fussy cut images I have shown above and the second rectangular piece of 6inches x 4 inches of the below paper, I have made a card to go with the above project.


The card base is a Kraft Cardstock from Craftreat.
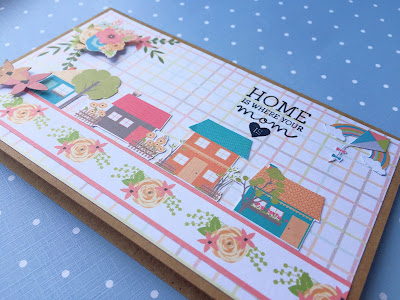

The sentiment is stamped on the pattern paper using Versafine Pigment Ink pad -Onyx Black.
I hope you enjoyed the projects as much as I did while making them. Hoping to see some of your projects made from the new released 'Live Today' Paper Pack.
With Lots of Love and Happy Crafting Wishes
Saumya
Products Used:


The month of May, as always has heated up the temperature to sky high but thanks to Craftreat's new released pattern paper "Live Today" with some beautiful patterns, I for sure was soothed off a lot.

I started my crafting days as a hard core card maker and scrapbooker and these papers really got me nostalgic. Plus the versatility of the patterns is incredible and is best suited to whip out some great layouts for both scrapbooking/memory keeping and card making.
As this pack had a lot of sentiments and quotes for family, I decided to whip out some quick gifts (Project1- Mini Scrapbook page and Project 2- Card) for my mom on the occasion of Mothers Day.
Lets have a look!!

I must confess, I have a weakness for checks and this is my favourite page of the entire pack.
So I have cut the above paper into a rectangle piece of 6inches x 4inches with the corner pattern of the flowers on top for Project 1 and another piece of 6inches x 4 inches for Project 2 (without any flowers and only checks).


Now that I had all my fussy cut images and sentiments ready for both the Projects, I started assembling them as below.
PROJECT 1:

I have glue the photograph first and then the cut strip along with the sentiment of "family"to the base pattern paper.

I have used a double tape to pop up the above images and sentiments to give more depth to my layout.
After the final layout was ready, I decided to frame it.

PROJECT 2:
With the balance fussy cut images I have shown above and the second rectangular piece of 6inches x 4 inches of the below paper, I have made a card to go with the above project.

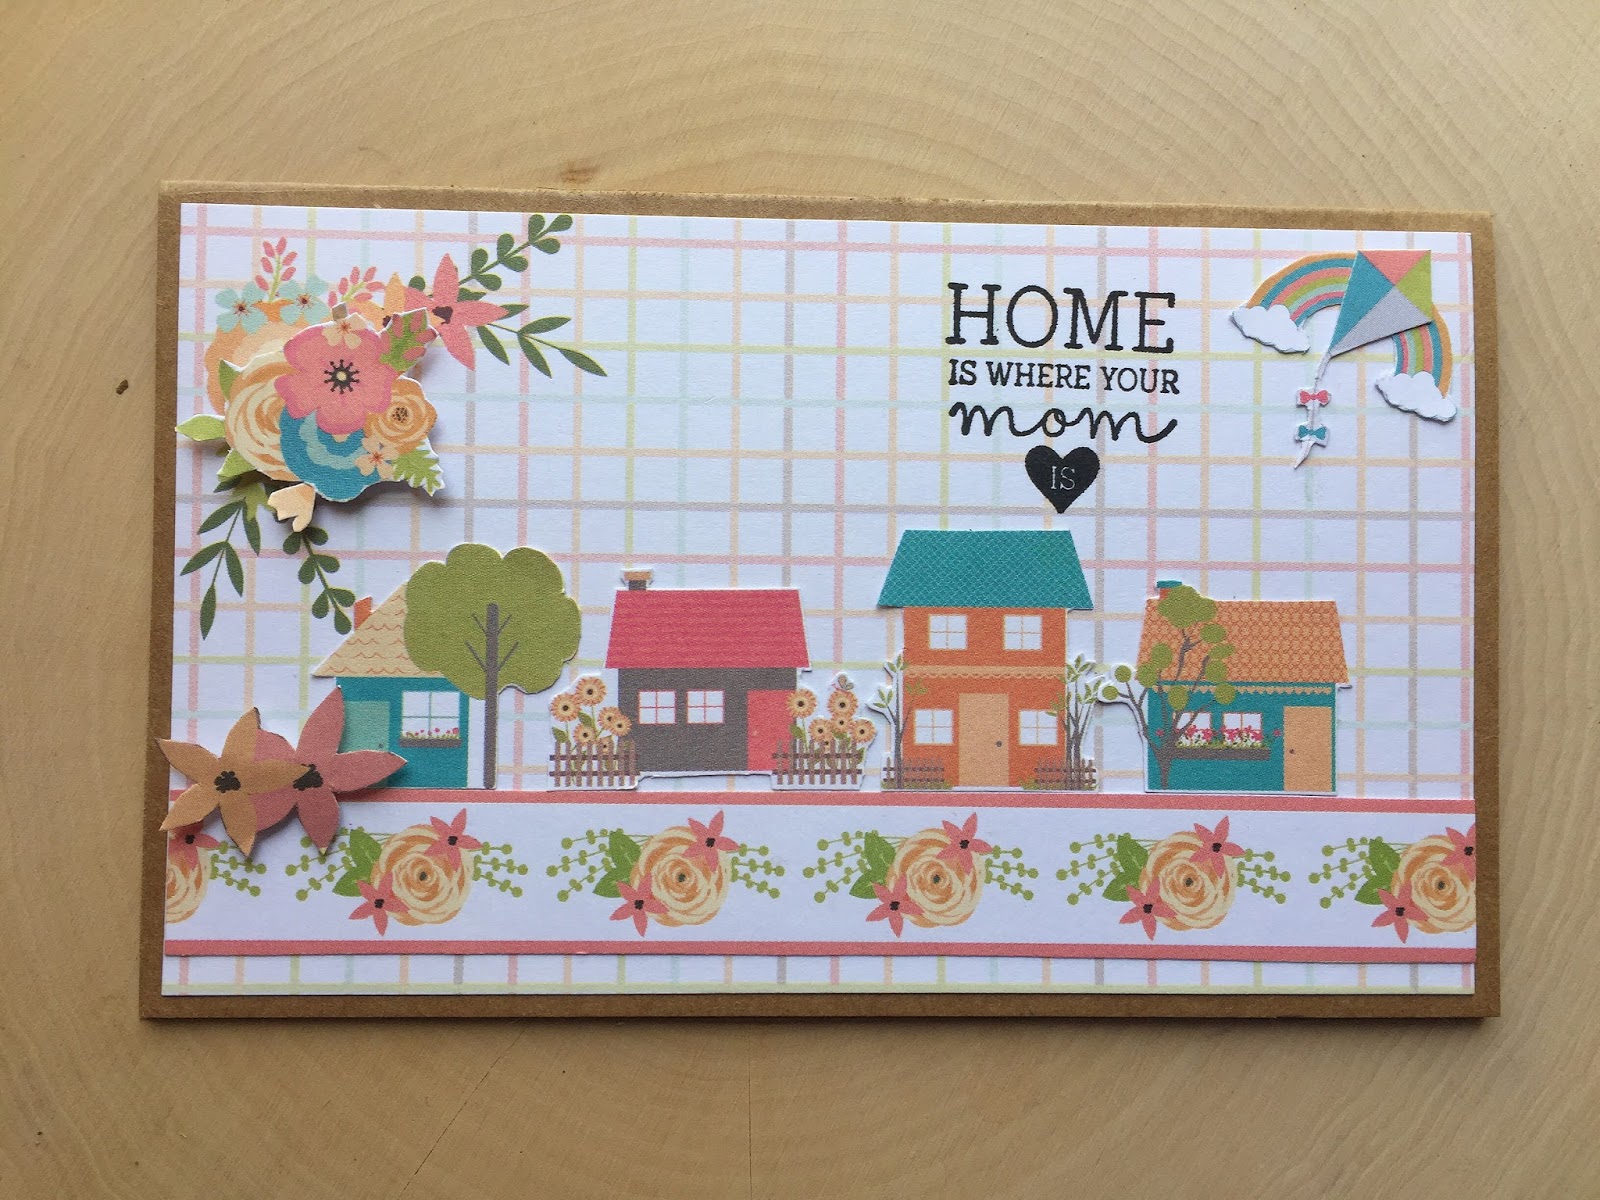
The card base is a Kraft Cardstock from Craftreat.


The sentiment is stamped on the pattern paper using Versafine Pigment Ink pad -Onyx Black.
I hope you enjoyed the projects as much as I did while making them. Hoping to see some of your projects made from the new released 'Live Today' Paper Pack.
With Lots of Love and Happy Crafting Wishes
Saumya
Products Used: