Followers

Sunday, May 31, 2020

Quick and Easy Kids Accessories with Craftreat Paper Packs

Hello Everyone

As a child, I loved having my personal accessories like cute bags to store my dolls dresses or a travel kit to keep me busy. I loved decorating my pencil box or tiffin box with stickers etc as I didn’t know any other way to personalize it then. But now as a skilled crafter I have ways to personalize anything and everything and the greatest pleasure  to me is when I can personalize things for my nephews and nieces.

So today I have got some quick and easy ways to personalize accessories for kids using  Craftreat Fairy Tale Paper Pack and Craftreat Mr. Perfect Paper Pack. These projects are so easy and quick that with little or almost no supervision from elders the kids could do it by themselves.

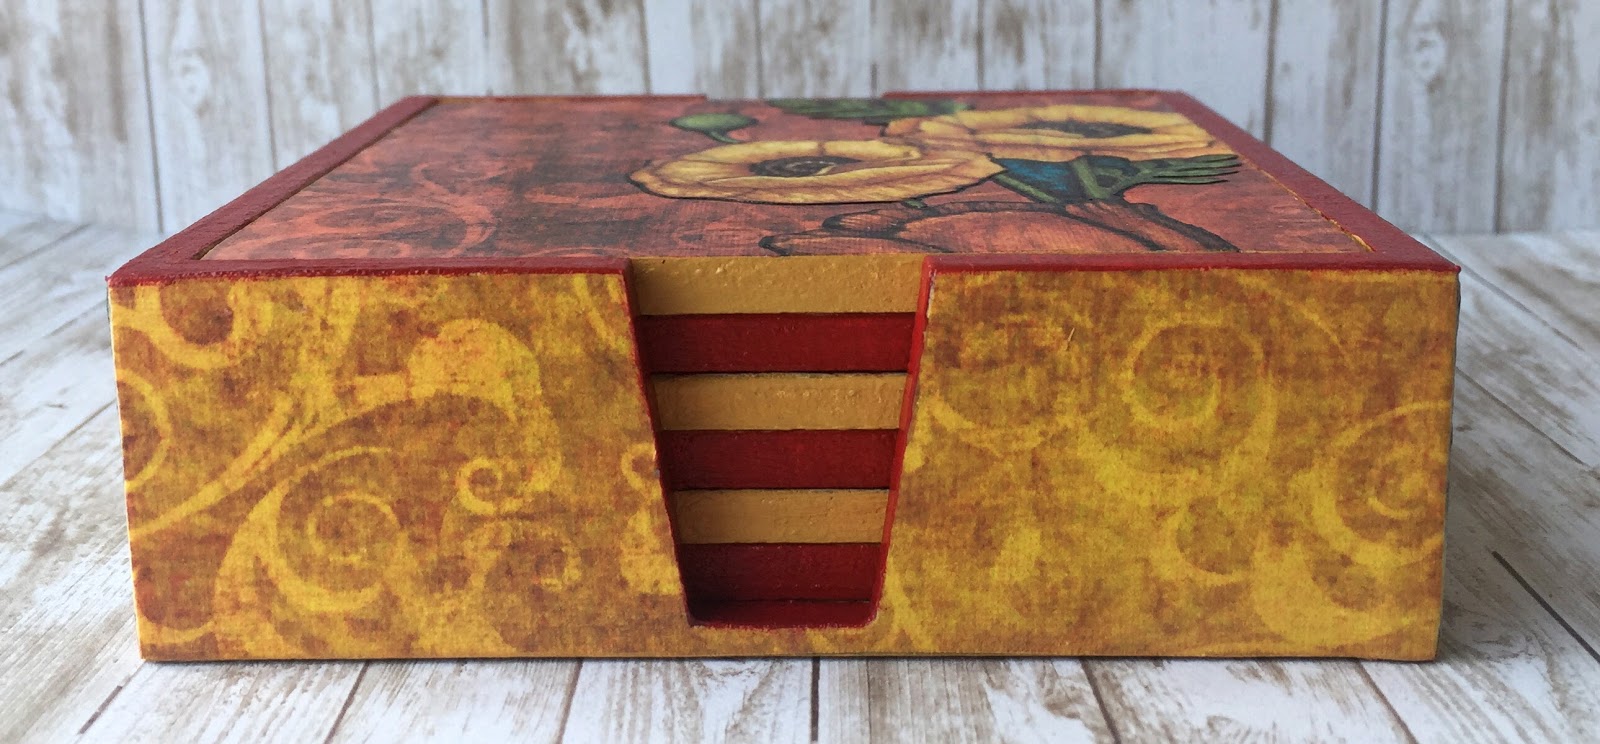
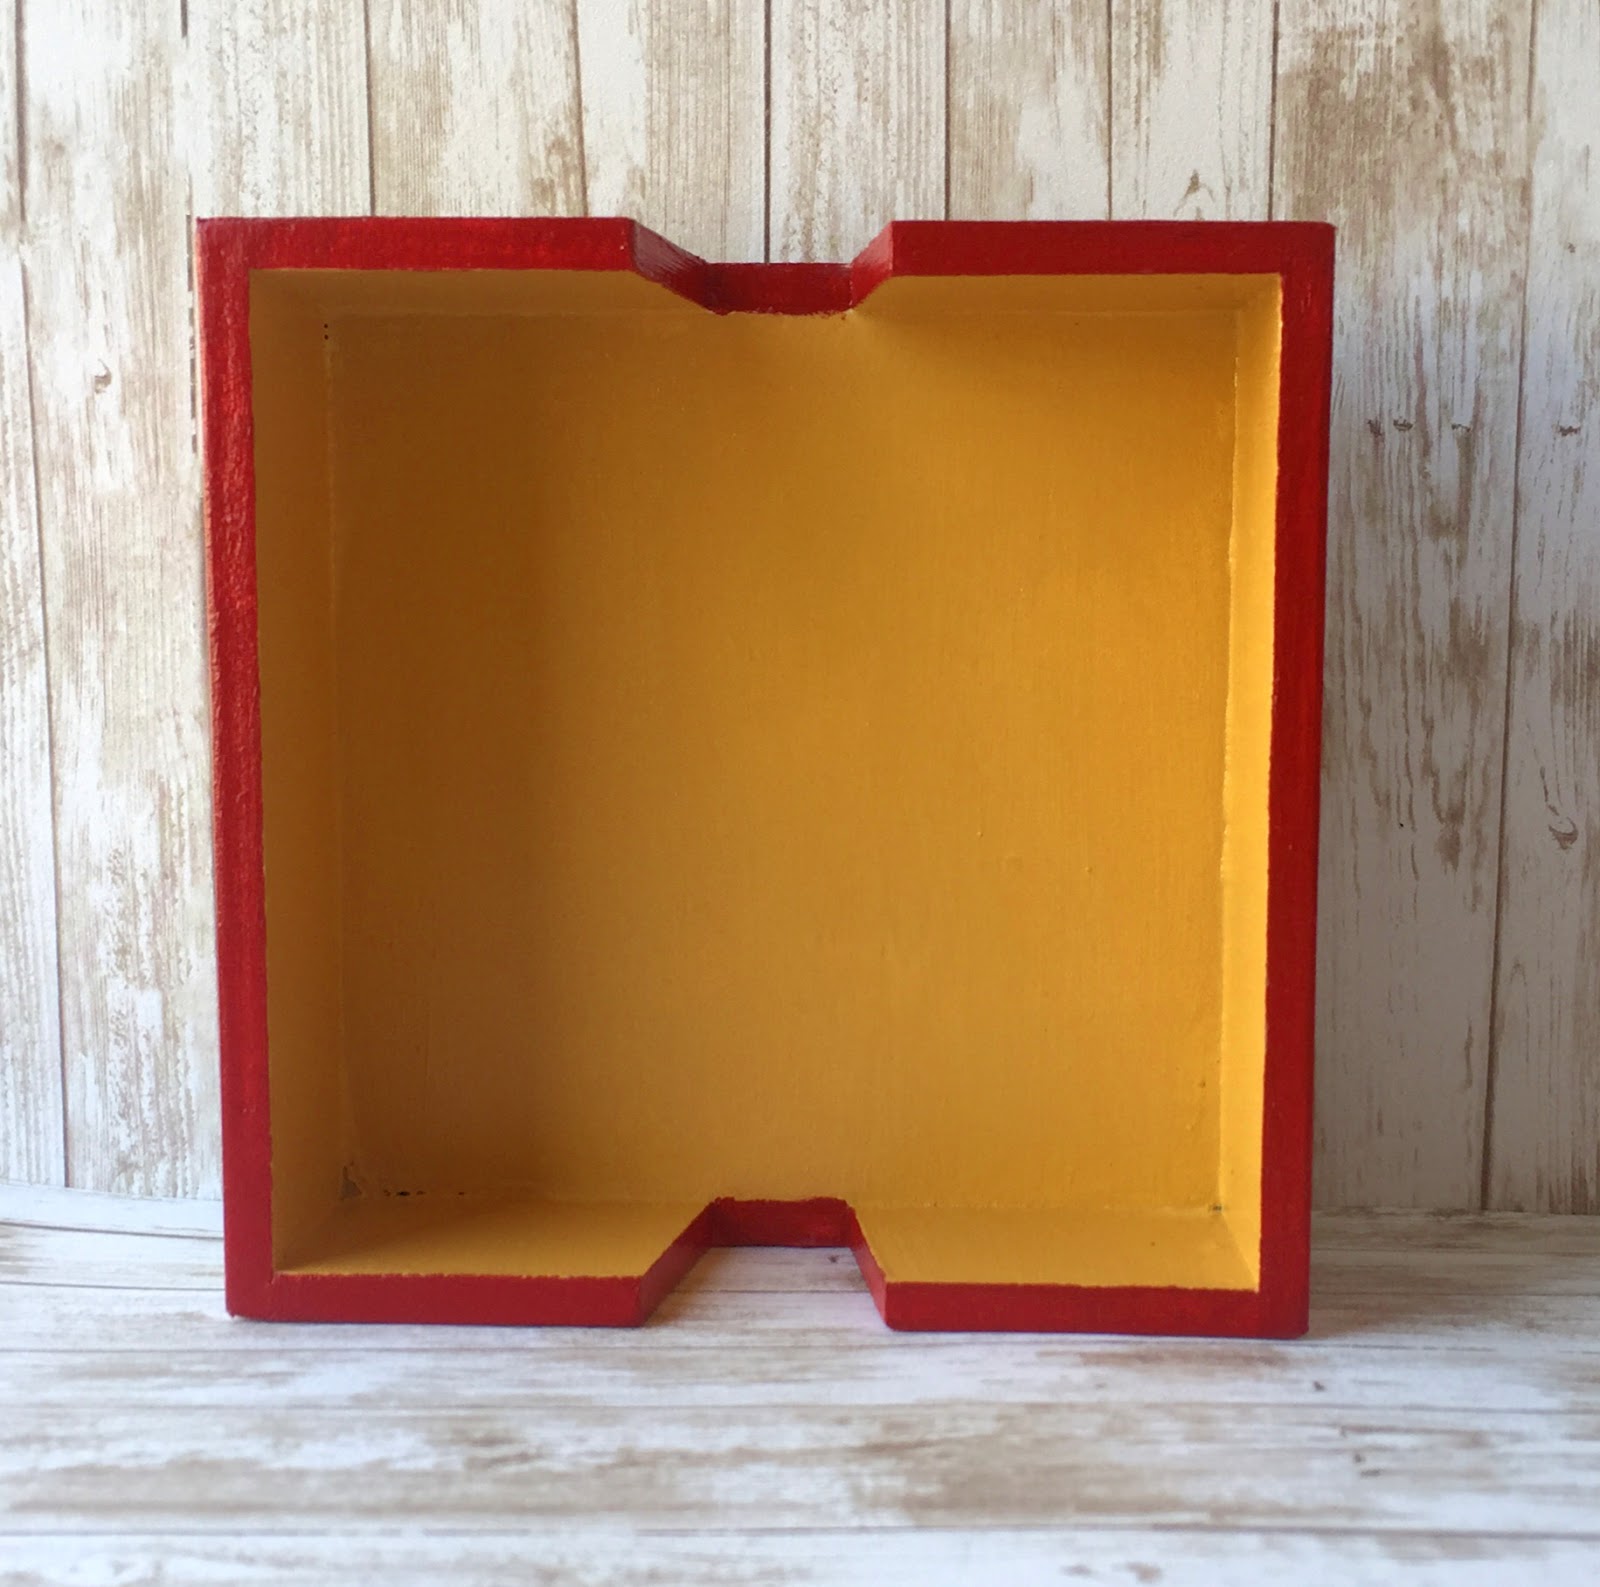
Project 1: Pencil Box/Stationary Box

I had a nice box from a pen gift set that I had received long back which I have upcycled as a pencil/stationary box.  The box top is the only thing that needed a makeover and the Mr. Perfect Paper Pack had just the right colours and elements that I needed to upcycle it. 


I cut the paper of my choice as per the dimensions of the top of the box and with the help of Mod Podge glued it down. I have then used the bonus die sheet and removed three ties and a sentiment “Limited Premium Edition” and with the help of mod podge glued them down as per my design. After allowing a little drying time I have applied two generous coats of Mod Podge on top and sealed it.


A perfect gift/item for a young boy.  To further personalize it one could add the kid’s name.


Project 2: File Folder

This could go for both a girl and a boy. I have taken an already existed plain file folder and decorated the top layer. 


I have take a paper of my choice from the Fairy Tale collection and cut it to size. With the mod podge the paper has been glued to the file surface. I have then cut out a strip of  prince and princess  and with the help of mod podge glued it down too. 


I have then stamped the sentiment “Follow Your Dreams” and the swirl with Archival ink and applied two generous coats of mod podge to seal it.


Project 3: Pen Stand or Drinking Cup

I have taken an existed white cup and upcycled it.  I took the bonus die cut sheet and removed a moustache from Mr. Perfect paper pack and the sentiment “Prince Charming “ from Fairy Tale paper pack.


I have then glued it down with the help of mod podge and then applied two generous coat of  it to seal it. This serves a pen stand or drinking cup too.

If you want to use it for drinking please ensure that you do not apply mod podge on the top rim of the cup where the mouth would get any contact with the cup.


Project 4: Trinket Box

Girls love trinket boxes to store their nitty gritty jewellery pieces or to carry their doll dresses or their personal accessories around.  So I have upcycled a metal box for the same purpose.


I have used a back drop of an old book page and painted it with acrylic paints of my choice and over it I have glued down the elements from the Fairy Tale die cut sheet. I decided to give the princess the sword in hand in order to depict or tell my niece that girls need to be strong enough to protect themselves.


This trinket box could serve as a travel kit too carrying crayons and some colouring sheets for a road trip or flight.


Hope you like the projects and share you creations with us too. 

Happy Crafting 
Saumya 


Products Used


Saturday, May 30, 2020

Tray and Coasters with Craftreat Poppy Garden Decoupage Papers

Hi Everyone,

My fellow DT members have been creating some amazing projects to keep you inspired, if you haven't seen them then you should take a peek at them.

Today, am showcasing Craftreat's Poppy Garden Decoupage Papers. The papers were so gorgeous that I was tempted to make myself a set of tray and coaster combo. 

Tray:


I have taken an old tray and revamped it. The Original Tray was first given two coats of white gesso allowing 3-4 hours drying time between each layer. After the second layer of gesso was dry, I have used red chalk paint to colour the tray. 

I felt the red looked too bright and the paper had a slight vintage tone to it so I applied a one step crackle medium over the red paint and allowed it dry completely. 


After that I have applied a coat of mustard yellow chalk paint. As the mustard yellow chalk paint started to dry, the cracks appeared revealing the red paint below.  Then I took some red paint on my fingers and distressed the edges of the tray to give some definition to it. 


To give a slight vintage look to match the papers I have used antique wax on the boarder of the tray. Once completely dry, I cut the Craftreat Poppy Garden Decoupage Paper to size and with the help of Mod Podge stuck it to the center of the tray. After allowing it to dry for 3-4 hours, I applied a generous two coats of Mod Podge over the Decoupage Page giving few hours of drying time between each layer.

Once dry, I generously applied two coats of Varnish on the entire surface of the tray and sealed it.


Coasters

I have taken MDF coasters and applied white gesso on all sides of each coaster and its holder and allowed it to dry.


After that I took the two plain self printed Decoupage Papers from the Craftreat Poppy Garden pack and cut them to size as per the coaster (3 red, 3 mustard yellow)

After that I took the other poppy garden print from the pack and fussy cut the flowers and leaves.


After I was satisfied with my idea, I stuck the plain self print red and mustard yellow papers to the coaster base with the help of Mod Podge. After a gap of 2 hours, I took a sanding paper and sanded off all the extra paper on the edges and also gave it a smooth finish. Then I took the fussy cut flowers and leaves and stuck them with the arrangement I liked with the help of Mod Podge.

Once all coasters were dry, I took my Staedtler Permanent Pen and enhanced the outline of all flowers and leaves. Having done that, I applied two generous coats of Mod Podge on top of it.


I have then applied chalk paints to all sides of the coasters. The coasters with red backdrop papers got mustard yellow paint all around them and the ones with yellow backdrop papers got red paint all around them.

After the chalk paint was dry, I have applied two generous coats of varnish on all sides of the coasters.


You can see the alternated colours of the coasters. For the Coaster Holder, I chose to go with the balance paper from the one used in the center of the Tray and the Yellow Plain self printed paper. So the front and back are same with the yellow paper as you can see above.


Side 1


Side 2


Top View- I coloured the top rim of the holder with Red Chalk Paint.


The Insides and the Back are Mustard Yellow Chalk Paints.


Hope you like what I have done with the Craftreat Poppy Garden Decoupage Papers!

Happy Crafting
Saumya


Products Used:


Creating your Own Travel Accessories

Hi Everyone

Wishing everyone a Happy Diwali in advance. Holidays or Trips are a period of super excitement and so is packing for a trip. From choosing the bags that one would like to carry to what to stuff inside them. Hence, today am here trying to showcase some new raw materials that The Craft Shop has in stock to create some very interesting travel accessories. This gives you a chance to carry unique and your style of accessories while traveling.

 Project 1:

 Lets start by looking at the raw materials we will need.

1. Canvas Bag
2. Decoupage Tissues/Papers of choice
3. Fabric Paints or Multipurpose paints
4. Fabric ModPodge
5. Brushes/Sponges for Paints and ModPodge
6. Stencils of choice
7.  Plastic Sheets
8. Rough piece of cardboard
9.  Craft Scrapper or Credit card or Plastic Ruler
10. Ruler (in case you are not using one for point 9 above)
11. Pencil
12. Container for water
13. Palette


 My Canvas bag and the tissue that I shall use.


 I wanted to use the grapes and not the apple so by using water and brush I tore the napkin to the design that I would use.


I have ensured to tear out all straight edges as that helps in blending the napkin.


A tissue napkin is usually 2-3 ply and the most common mistake is to not remove them. We just need the top layer and hence its important that we separate all layers below.


Since this is a drawstring bag, the bag at the end was getting pulled and hence not giving me a straight plain surface to work on. So I decided to untie the knots.


Place the tissue where you want to stick it as per your design and mark the edges with a help of a pencil lightly just to give you the idea on the area you have to cover with Mod Podge. 
*You will come to know why I did this in the later steps


Now with help of Fabric Mod Podge (its much sticker than the normal Mod Podge that we use and yes, we need a Fabric Mod Podge as we are dealing with Fabric Canvas Bag) I shall stick the tissue on the canvas bag. I am not applying gesso or white paint below as the canvas bag is more or less white. If you are doing this on a coloured canvas bag, you will need to paint the areas on which the tissue will be placed. However, this step can be skipped if you are using decoupage papers.


 After applying the Fabric Mod Podge on the canvas all over the marked area, I have placed the tissue very lightly on it. I have taken a plastic sheet and placed it over the tissue.
*Never try and apply Mod Podge  on the tissue it will tear off as its very thin. Always apply on the fabric and hence I had marked the area of application  above.


Over the plastic sheet, with the help of a craft scrapper I remove the air bubbles if any and also this method helps to give a crease free tissue.
* Never try and do this directly on the tissue without the plastic sheet, you will tear off the tissue. 


Look at the crease free tissue on the canvas! Apply a generous coat of Fabric Mod Podge over it and seal it.


As per my design in mind, I wanted to divide the bag into two colour schemes taking inspiration from the tissue itself and hence with the help of a ruler and pencil I drew the lines to mark the division.


To protect the paints from spreading into unwanted areas I have applied washi tape to areas that I wanted to protect.


I have chosen the paints as per the tissue and I prefer using a sponge to blend colours. If brush works for you please go ahead with that.


Mid way I realised a bit of red would look nice as the lower part had a darker version of orange like burnt orange shade.


This is how one side looked after painting


For the other side I used yellow and white 


Now with the help of stencils I shall fill in the blank spaces as per my desire.


After being satisfied with the design I have given the entire surface two generous coats of Fabric Mod Podge allowing 3-4 hours of drying time between the two coats.


Project 2:

Things needed:
1. Canvas Pouch
2. Decoupage paper/tissue of choice
3.Fabric Mod Podge
4. Brush for Mod Podge
5. Steadtler Permanent marker
6. Rough piece of cardboard
7. Plastic Sheets


This is the decoupage paper I shall use from Craftreat.


 I have selected this strip that I want to use from the paper and I love the canvas feel so will leave it in that colour itself. If you are someone you prefers that too, this is a super easy and classy way of creating your own bags and pouches.


If you notice I have mentioned a rough cardboard piece too in both my projects. I have taken the rough piece of cardboard and wrapped it in plastic to place it between the two layers of the
bag/pouch. This protects the paints and mod podge from sticking to the other side of the fabric


I have applied Fabric Mod Podge to the back of the paper.
* Unlike tissue paper can withstand the brush strokes of  Mod Podge being applied to it.


 After that I have taken my Staedtlet Permanent Pen and made an outline around the design to give it a little definition. After that I have applied two generous coats of Fabric Mod Podge allowing 3-4 hours of drying time between the two coats (over the design area only )and sealed it.


Project 3:

As I said the store has some amazing raw materials. Some are plain keychains on which decoupage can be done.


I have taken one of them and as the base is already white I have skipped the gesso part. Just applied Mod Podge and tissue. Sanded off the corners and applied two coats of Mod Podge over and sealed it.


Hope you like the projects and share your creations with us.

Happy Crafting
 Saumya

Products Used from Store:
1.Bags,Pouches and Keychain.
2. Decoupage Tissue
3. Craftreat Decoupage Paper
4. Folkart Multisurface Paints
5. Fabric Mod Podge